Tile Cutting & Tiling Tools Melbourne
CMP Stone in Hallam is a stonemason tools supplier in Melbourne that specialises in Tile Cutting & Tiling Tools Melbourne.
We also specialise in tools for:
- Monumental Stone Masonry
- Stone Masonry Tools & Equipment
- Bricklaying Tools & Equipment
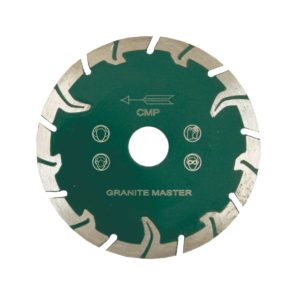
- Marble Cutting Tools & Equipment
- Sculpting Tools & Equipment
- Landscaping Tools & Equipment
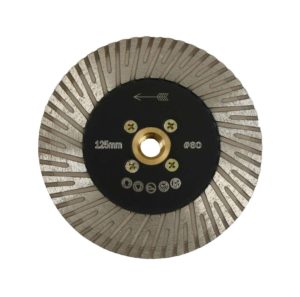
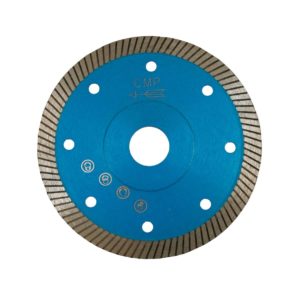
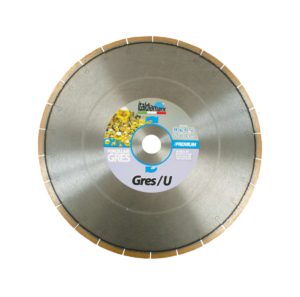
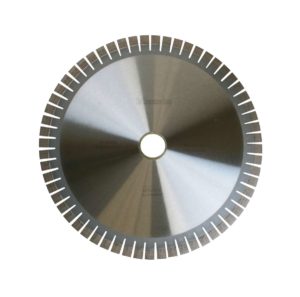
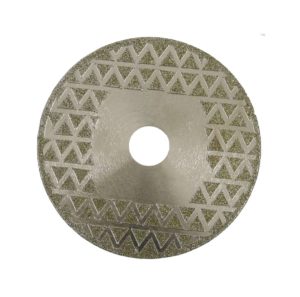
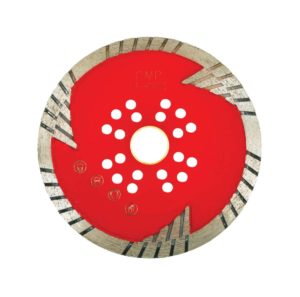
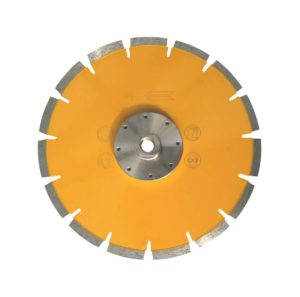
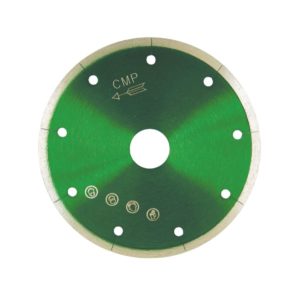
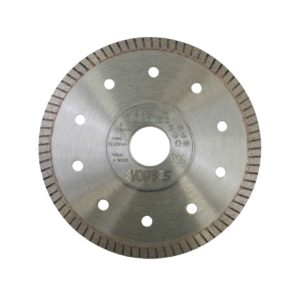
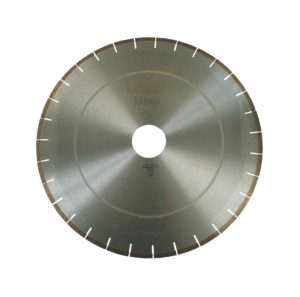
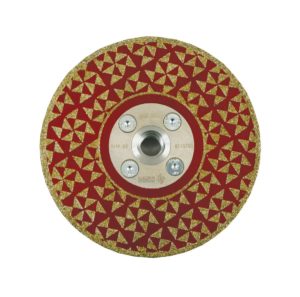
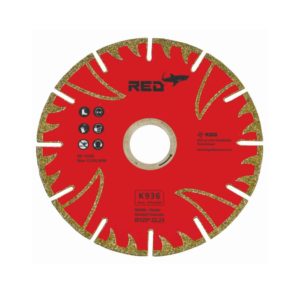
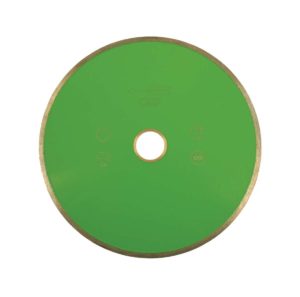
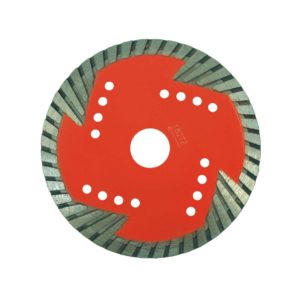
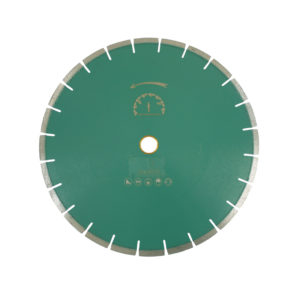
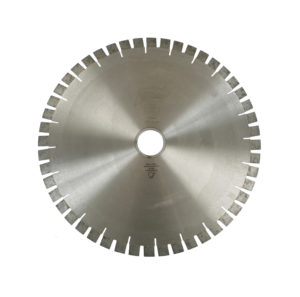
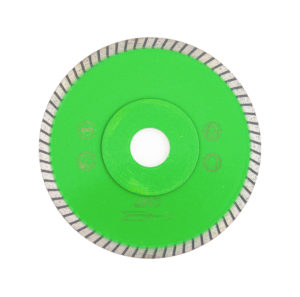
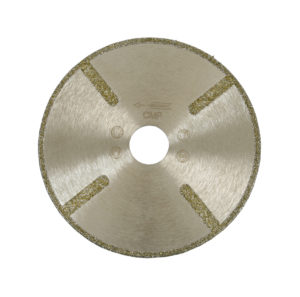
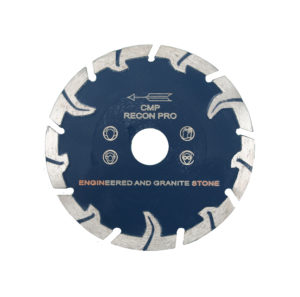
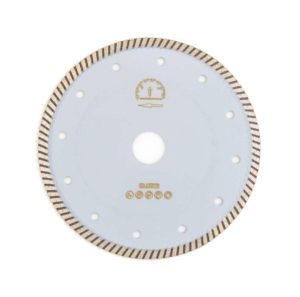
- Tile Cutting & Tiling Tools & Equipment
- Dry Wall Masonry Tools & Equipment
Tile installation is the responsibility of a tiler.
Tile setters adhere tiles made of ceramic, stone, glass, or other materials to surfaces according to the plans of architects and interior designers. They clean and repair the area to be tiled, choose and cut tiles to size, mix and apply adhesives, set tiles, grout, and seal the grout.
Floors, walls, ceilings in homes (particularly bathrooms and kitchens), businesses, and even outdoor spaces like gardens, patios, terraces, and swimming pools can all benefit from the usage of tiles. Tiles are a type of thin covering unit that can be created from a wide variety of materials such as ceramics, brick, marble, plastic, natural and artificial stone, and other shapes and sizes.
Among the many possible responsibilities of a wall and floor tiler are:
- Estimate the materials you'll need by measuring the area to be worked on or by consulting the project's specs and drawings.
- Evaluate blueprints, make measurements, and draw marks on target areas before beginning the designing phase.
- Remove any existing tile, grout, cement, or glue from the wall or floor.
- Put filler in any gaps, and then wipe everything down.
- Place tiles on surfaces with the appropriate adhesive, checking for pattern consistency as you go.
- Make use of tile-cutting equipment to trim and form tiles for use in hard-to-reach areas, such as along walls, ceilings, and floor edges, or around fixtures and pipes.
- To level the floor tiles, the wall, or the ceiling, one must use instruments like spirit levels, squares, and plumb-lines.
- Tiles must be prepared for grouting, grouted, cleaned, and polished.
- Cement, granolithic, terrazzo, or a comparable flooring material should be laid down.
- The use of waterproofing techniques
Tiling is just one of the many tasks that tilers complete; they also tear down and rebuild walls, install dry linings, and put in various other wall and floor coverings like plaster, marble, hardwood parquet flooring, and carpet.
Tiles are popular for use in construction because they are long-lasting and simple to maintain, making them suitable for a wide variety of locations (including homes, businesses, and even factories). As well as serving a practical purpose (i.e., protecting and covering walls and floors), tiles can provide visual appeal to a space. Tiles can be found in various colours, patterns, and sizes, allowing for endless possibilities when decorating interiors and exteriors and even creating artistic compositions like mosaics. Therefore, it is crucial for a tiler to be able to carry out complex designs and patterns according to a tiling plan layout.
A tiler needs more than just technical know-how and an eye for design to succeed in their line of work; they also need strength, stamina, and the ability to work in awkward positions for long periods (making the use of professional knee pads a must).
The majority of tilers work for construction companies, however, many others are independent contractors.
It is up to the tiler to decide where he or she will be working best for the current project. New construction in the residential, commercial, or industrial sectors and rehabilitation and restoration work on existing buildings are all within the realm of possibility.
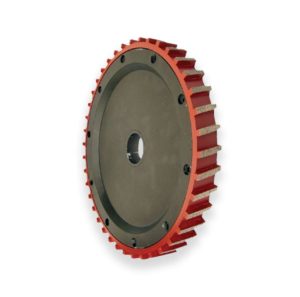
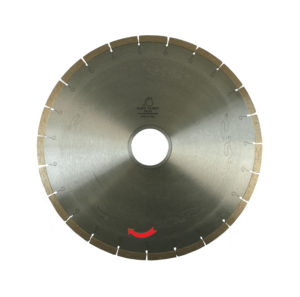
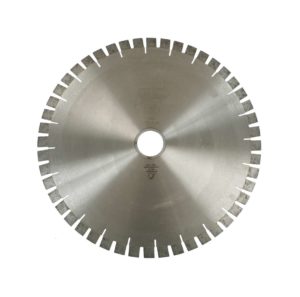
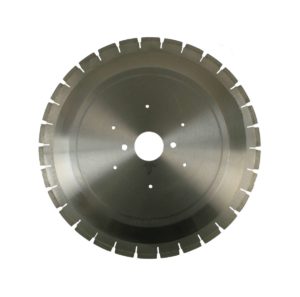
CNC TOOLS
8+ Products
GRINDING & SHAPING
20+ Products
CONSUMABLES
11+ Products


Tools Used by Tilers
Spend as little as possible on inferior tools and as much as possible on the best ones. A wet tile saw is a worthwhile investment if it is within your budget. A wet tile saw is the best tool for the job, even if it has just one purpose and will be collecting dust in the garage once the tiling is done.
Ceramic, porcelain, and stone tiles are no match for it, and you'll save money in the long term because of the ease with which you may use it and the resulting decrease in breakage.
You will need a snap tile cutter if you don't have the funds for a wet tile saw. A manual tile snap cutter can do the same work as an expensive tile wet saw. A tile-cutting blade and a V-shaped pressure pad are housed in a lengthy frame in its centre. To ensure a clean break, you need only score the blade along the cutting line and apply light pressure to the tile.
However, some tilers prefer not to use them until they have perfected the methods involved, which can take some time. It's possible that you'll have to replace tiles you break while learning how to use the tool.
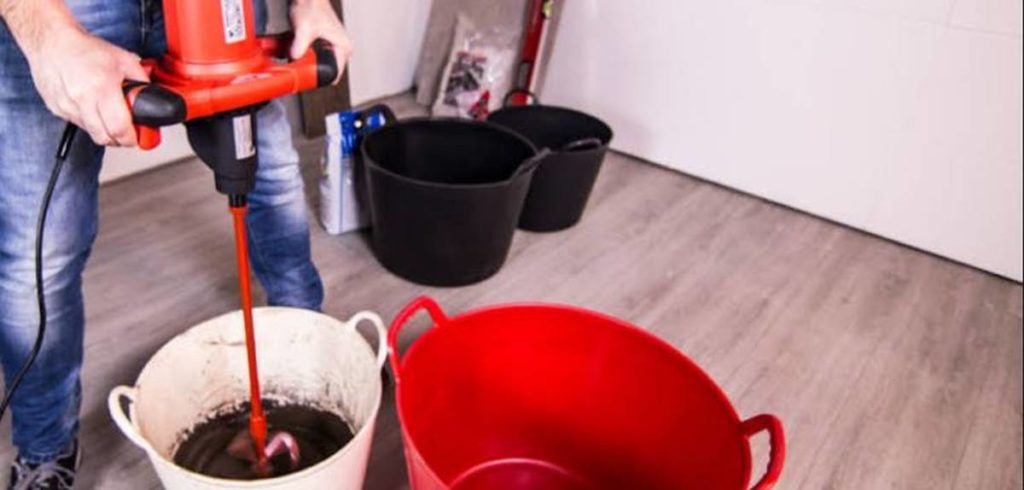
Mortar Mixer
It's possible to purchase pre-mixed tile adhesive and grout, but doing so can be expensive, especially if you need to tile a sizable area like a floor or bathroom. The best value for money can be found by buying mortar and grout in powder form and mixing it yourself.
You'll need a mortar mixer for that. Typical examples of such tools feature long handles and ends that resemble a cake mixer. They are coupled to an electric motor that mixes the mortar into a thick paste for use on the tiles and walls. Attachments for your power drill may do the same job as a mortar mixer, and they're far more affordable.
Plastic Bucket
Without a reliable bucket, we'd be in serious trouble. Find the largest one you can, and don't make the rookie move of using an already used one. You will still need the bucket, even if you want to use pre-mixed tile mortar, to sponge out the grout after tiling.
Grout Sponge
Specially made grout sponges are dense and absorbent, making quick work of cleaning up messes on tiled surfaces. You should start by making sure your sponge is clean.
Never forget that leaving even a little bit of grout behind will ruin the tile's final appearance by making it look dull and dirty.
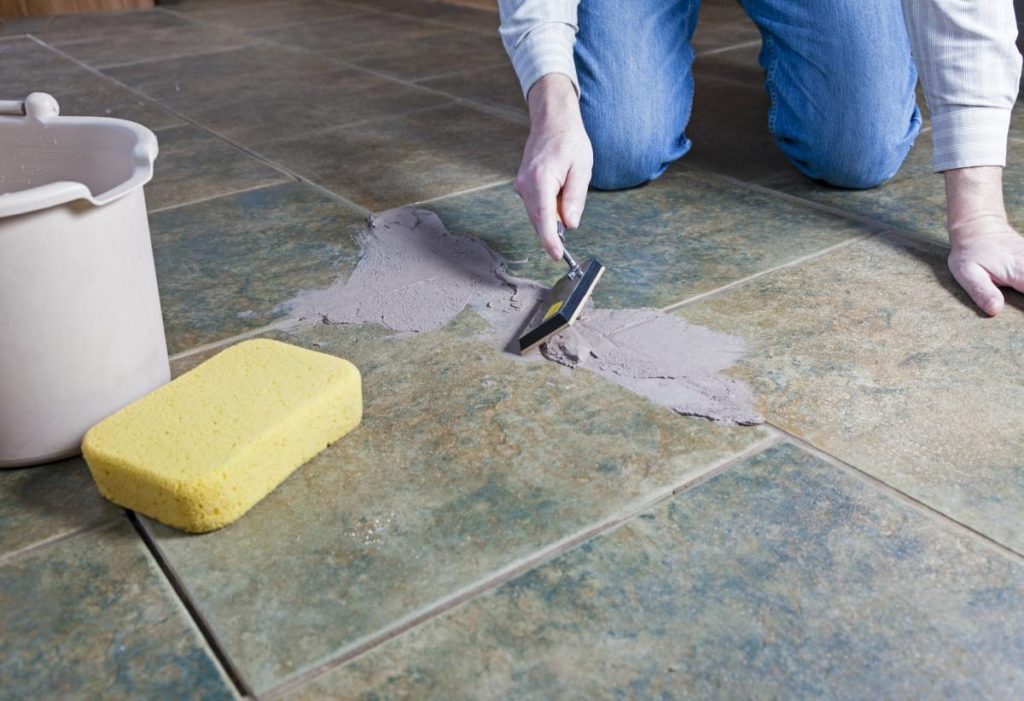
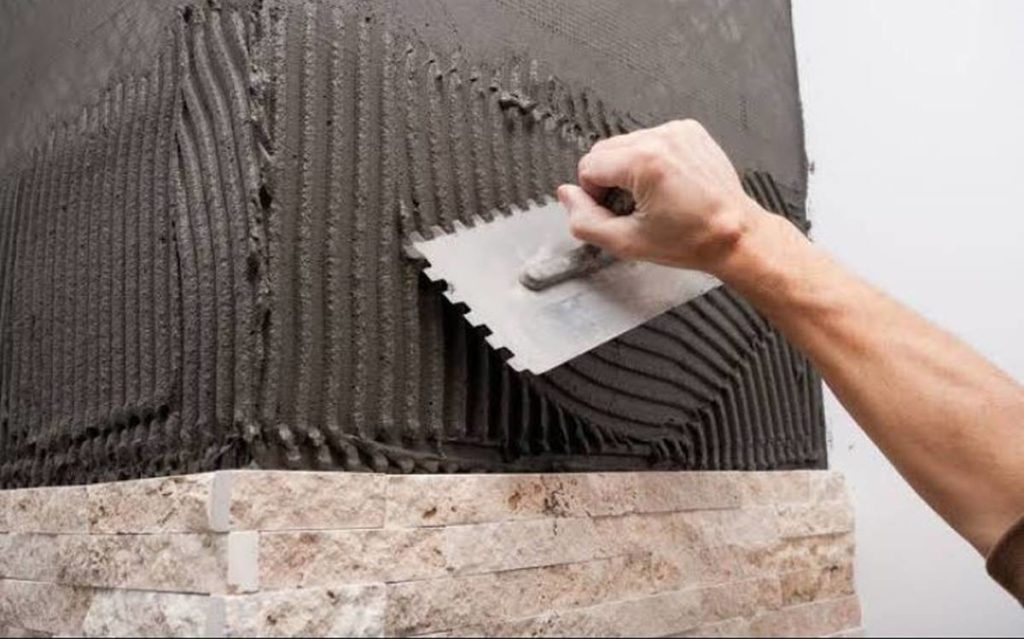
Pointed Trowel or Tile Trowel
Experts can apply mortar on a wall or tile by feeling alone, using a pointed trowel. If you're just starting off, though, you should use a special tile trowel, the edge of which has huge squares or grooves cut into it to help spread the mortar evenly across the back of the surface. Having an even connection aids in having a firmer hold.
Grout Float
Spreading grout into the spaces between tiles requires a flat trowel called a grout float, which typically has a rubber base. Rubber aids in uniform distribution.
Expect to make a mess when you spread the grout, but don't worry about it too much because that's what the grout sponge is for. Grouting is as easy as holding the grout float at an angle and working the grout into the gaps, taking care to leave no air pockets or missed locations. If the grout is not entirely filled in, water can seep in and cause moisture problems, which can lead to the tiles loosening and falling off the wall.
Tile Nibbler
This handy gadget is used to "nibble" the tiles, as the name suggests, in order to produce curved edges that the tile cutter cannot achieve. If you have a tiling task that looks like it will be difficult, a tile nibbler may be the tool you need because it is useful for cutting tiles for curved edges and irregular lines.
Chalk Line or Laser Level
Since the majority of tiles are laid in straight lines, it is crucial first to mark them out to ensure that the first row of tiles is laid flat and level. If you get out on the wrong foot, no matter how slight, the lines you draw will be all messed up.
A length of twine or string dusted with chalk dust serves as a chalk line, a simple tool. To create a guide, simply locate the desired line and snap it against a wall. A laser level accomplishes the same task with slightly more precision and the panache but at a higher price. If money or complicated technology are constraints, the time-tested method of using a length of chalk-coated rope is hard to beat.
Bubble Level (For Walls Only)
Once you've drawn your chalk line and applied the first row of tiles, using a bubble level, or spirit level as it's sometimes called, is an easy method to make sure you're remaining on course and not deviating off at an angle. It's better to catch problems as they arise than to have to redo half the wall after you've already tiled it. After placing the tile, double-check its placement, paying special attention to both the vertical angle and the horizontal line.
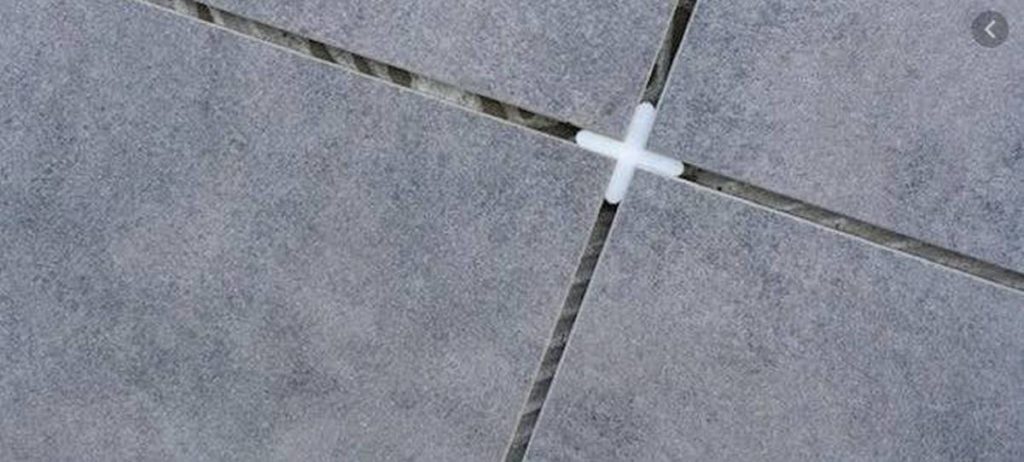
Tile Spacers
Whether you're a first-time tiler or a seasoned master, tile spacers are like little plastic crosses that guarantee a consistent gap between each tile. When the mortar sets, they prevent the tiles from moving around on the wall.
Rubber Mallet
A rubber mallet works great for gently nudging the tile into place after it has been applied to the wall or floor, helping to guarantee a strong adhesion. This tool fills the tile's rough surface with mortar and ensures an even application.
It's crucial to avoid using an excessive amount of force. Instead of giving the tile a forceful whack, which could cause it to fracture and cost additional money, it is best to tap it several times. Don't smash it with a hammer; that'll just make it worse.


